CapCut: Crafting Stunning Travel Videos with Ease
CapCut, the free mobile video editing app, has become a favorite among travel vloggers and enthusiasts for its user-friendly interface and powerful features. This essay will guide you through the process of creating captivating travel videos using CapCut, transforming your raw footage into immersive visual stories that inspire wanderlust.
1. Getting Started: Importing and Organizing
- Installation and Setup: Begin by downloading and installing CapCut from your device’s app store (available for both Android and iOS). Familiarize yourself with the app’s layout, including the timeline, media browser, and editing tools panel.
- Importing Media: Tap the “+” icon to create a new project and import your travel footage, photos, and audio files. CapCut supports various video formats and resolutions.
- Organizing Your Media: Create folders and organize your media files within the app to streamline your workflow. This is especially helpful for larger projects with extensive footage.
2. Basic Editing: Building the Narrative
- Arranging Clips: Drag and drop your video clips onto the timeline in the desired sequence to build your narrative. Trim or split clips to remove unwanted footage or highlight key moments.
- Adding Transitions: Smoothly connect clips with a variety of transition effects, enhancing the flow of your video. Experiment with fades, dissolves, slides, and wipes to find what best suits your style.
- Adjusting Speed: Vary the playback speed of your clips to create dynamic pacing. Use slow motion to emphasize breathtaking scenery or fast motion to condense longer journeys.
3. Enhancing Visuals: Capturing the Beauty
Related articles 01:
1. https://cacutproapk.com/capcut-vs-premiere-pro-a-david-and-goliath-showdown-in-video-editing
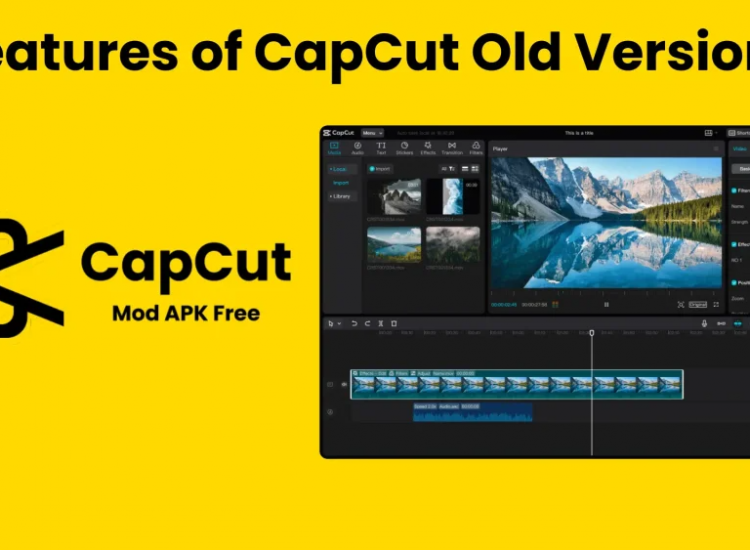
2. https://cacutproapk.com/capcut-old-version-apk-why-some-users-prefer-the-older-version
3. https://cacutproapk.com/capcut-a-users-perspective-on-accessible-video-editing
4. https://cacutproapk.com/capcut-vs-alight-motion-which-mobile-video-editor-is-best-for-you
5. https://cacutproapk.com/the-double-edged-scroll-examining-the-impact-of-tiktok-on-youth
- Color Correction: Adjust the colors of your footage to enhance the visual appeal. Use the “Auto Enhance” feature for a quick fix, or manually adjust brightness, contrast, saturation, and sharpness for more precise control.
- Filters and Effects: Explore CapCut’s extensive library of filters and effects to create different moods and aesthetics. Apply a vintage filter for a nostalgic feel, or use a vibrant filter to make colors pop.
- Zoom and Pan: Use the “Zoom” and “Pan” effects to draw attention to specific details or create dynamic camera movements. Zoom in on a landmark or pan across a panoramic landscape for a cinematic effect.
4. Sound Design: Immersing Your Viewers
- Adding Music: Choose music tracks that complement the mood and atmosphere of your travel destinations. CapCut offers a vast library of royalty-free music, or you can import your own tracks.
- Incorporating Sound Effects: Enhance realism by adding sound effects that capture the essence of your travel experiences, such as the sounds of a bustling market, crashing waves, or local music.
- Recording Voiceovers: Add your own narration or commentary to provide context, share stories, or guide your viewers through your journey.
5. Text and Graphics: Enhancing Storytelling
- Adding Text Overlays: Use text to introduce locations, share interesting facts, or add captions that enhance the storytelling. Experiment with different fonts, colors, and animations to create visually appealing text overlays.
- Incorporating Stickers and GIFs: Add personality and visual interest by incorporating relevant stickers or GIFs. Use animated arrows to point out landmarks or add playful emojis to capture your reactions.
- Creating Titles and Lower Thirds: Introduce your video with a captivating title sequence and use lower thirds to identify locations or people featured in your footage.
6. Advanced Editing Techniques

- Keyframe Animation: Use keyframe animation to create smooth and precise changes in video and audio effects over time. Gradually increase the volume of music as a scenic shot unfolds, or subtly animate text to appear and disappear.
- Masking: Apply effects to specific portions of a video layer using masks. Blur the background of a shot to create a shallow depth of field effect, or highlight a specific object by adding a glow effect only to that area.
- Speed Ramping: Vary the speed of your clips within a single shot to create dynamic pacing and visual interest. Speed up a mundane walking sequence, then slow down as you approach a breathtaking vista.
7. Optimizing for Social Media
- Aspect Ratios: Choose the appropriate aspect ratio for the platform where you’ll be sharing your video (16:9 for YouTube, 9:16 for TikTok and Instagram Stories, 1:1 for Instagram feed).
- Video Length: Keep your videos concise and engaging, adhering to the optimal length for each platform. Short-form content (under 60 seconds) generally performs best on TikTok and Instagram Reels.
- Captions and Hashtags: Add relevant captions and hashtags to increase the discoverability of your videos. Use keywords that people might search for, like “#travelgram,” “#wanderlust,” or “#[destination name].”
8. Exporting and Sharing
Related articles 02:
2. https://cacutproapk.com/capcut-a-powerful-and-accessible-video-editing-tool
4. https://cacutproapk.com/capcut-old-version-apk-why-some-users-prefer-the-older-version
- Export Settings: Once you’re finished editing, tap the “Export” button. Choose your desired resolution, frame rate, and video quality. Select the settings that best suit your needs and the platform where you’ll be sharing your video.
- Sharing Options: After exporting, share your video directly to popular social media platforms like YouTube, Instagram, TikTok, and Facebook. You can also save the video to your device’s gallery for later use.
9. Additional Tips and Tricks
- Utilize Templates: Explore CapCut’s library of templates for inspiration and to quickly create stylish videos.
- Experiment with Effects: Don’t be afraid to experiment with different effects and filters to find your unique editing style.
- Tell a Story: Focus on crafting a compelling narrative that takes your viewers on a journey.
- Engage Your Audience: Use music, sound effects, and visuals to evoke emotions and create an immersive experience.
- Practice Makes Perfect: The more you edit, the better you’ll become. Keep practicing and experimenting to refine your skills.
Conclusion
CapCut offers a powerful and accessible platform for transforming your travel footage into captivating videos. By mastering its features and employing the techniques outlined in this essay, you can create professional-quality travel videos that inspire and engage your audience. So, grab your phone, capture your adventures, and unleash your creativity with CapCut!